How to Make a Slideshow on TikTok?

WithAI.Top Editorial Team
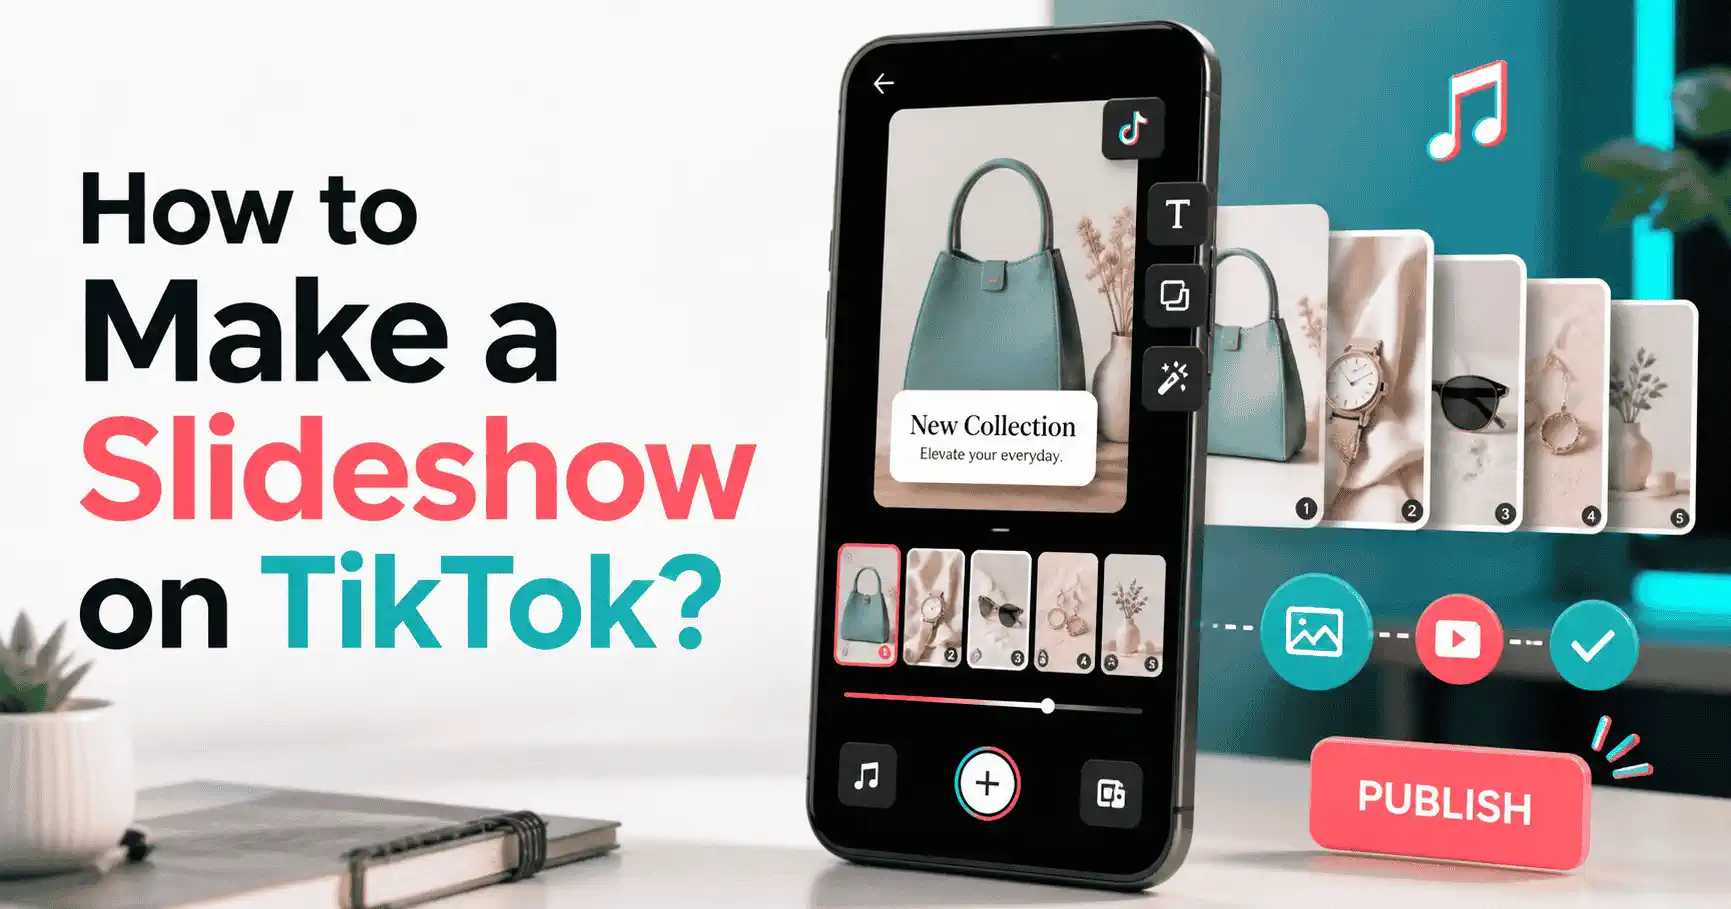
You can make a slideshow on TikTok by opening the app, tapping the plus button, uploading multiple photos, arranging them in order, adding music or text, and publishing the post in a photo/slideshow format. TikTok's public help content says you can create posts from videos and photos, and recent TikTok Photo Mode guidance commonly describes photo posts as swipeable image carousels rather than traditional edited videos (TikTok Help Center, retrieved August 28, 2026).
Button labels can change by app version, region, and account type, but the workflow is simple: choose photos, arrange them, add creative layers, write a caption, then post.
Key Takeaways
- A TikTok slideshow is usually a multi-photo post that viewers can swipe through.
- The easiest way to make one is to upload several photos from your camera roll and publish them in TikTok's photo-style post format.
- Music, text overlays, cover text, stickers, and captions help viewers understand the story quickly.
- Product slideshows work best when the first image shows the result, the middle images explain benefits, and the final image gives a clear next step.
- If you want AI-assisted creative workflows, use specialized tools only after you know the slideshow idea and audience.
What Is a TikTok Slideshow?
A TikTok slideshow is a post made from multiple images arranged in sequence. Viewers usually swipe through the images, much like a carousel on Instagram, while the post can still use TikTok-style features such as music, captions, text, stickers, and hashtags.
The format is useful because it is fast to create and easy to understand. You do not need to film a full video, record voiceover, or edit complex clips. You can use screenshots, product photos, travel images, before-and-after examples, educational tips, outfit ideas, or step-by-step tutorials.
Think of a TikTok slideshow as a tiny visual story. The first image gets attention, the middle images deliver value, and the final image gives closure or a next action.
Before You Start
Prepare your images before opening TikTok. A better slideshow usually comes from better planning, not from adding more effects later.
What you'll need:
- The TikTok app installed and logged in.
- 3 to 10 clear images for a simple post.
- A main idea, such as a tutorial, product feature, list, or story.
- Optional text for each slide.
- A short caption and 3 to 6 relevant hashtags.
- A vertical image crop if you want the post to feel native on TikTok.
TikTok features can vary, so update your app before starting. If the buttons look different, look for equivalent actions such as Upload, Photos, Select multiple, Next, Text, Stickers, Sounds, and Post.
Step 1: Plan the Slideshow Story
By the end of this step, you should know what each photo is supposed to communicate.
Start with one clear outcome. Decide whether you want to show a product, explain a process, tell a story, share a list, or teach a quick tip.
Use this simple structure:
- Slide 1: Hook. Show the strongest result, question, contrast, or promise.
- Slides 2-4: Context. Explain the problem, setup, or main details.
- Slides 5-7: Value. Show steps, examples, benefits, mistakes, or proof.
- Final slide: Action. Tell viewers what to do next, such as save, comment, follow, visit, compare, or try.
For a beginner slideshow, do not overcomplicate the story. One idea is enough.
Step 2: Open TikTok and Upload Multiple Photos
By the end of this step, your selected photos should be inside TikTok in the order you want.
Open TikTok and tap the plus button to create a post. Instead of recording a new video, choose the upload option. Select the Photos tab if your app separates videos and photos, then pick the images for your slideshow.
Follow these steps:
- Open TikTok.
- Tap the plus button.
- Tap Upload.
- Choose Photos or select images from your camera roll.
- Turn on Select multiple if your app shows that option.
- Tap each image in the order you want viewers to see it.
- Tap Next.
Check the preview before editing. If the order is wrong, go back and reselect the images.
Step 3: Arrange the Slides for Better Pacing
By the end of this step, your slideshow should have a clear beginning, middle, and end.
Good slideshow pacing is about removing confusion. Put your most interesting image first, then move from simple to specific.
Use this order for common slideshow types:
| Slideshow Type | Best First Slide | Best Middle Slides | Best Final Slide |
|---|---|---|---|
| Tutorial | Finished result | Step-by-step photos | Final checklist |
| Product | Product in use | Benefits, details, proof | Offer or next action |
| Travel | Strong location photo | Moments and tips | Save-worthy summary |
| Before/after | After image | Before and process | Lesson learned |
| List | Big promise or title | One item per slide | Recap or question |
Avoid making every slide equally busy. Alternate visual slides with text-led slides so the post has rhythm.
Step 4: Add Music, Text, Stickers, and Captions
By the end of this step, your slideshow should be understandable even before someone reads the caption.
Music sets tone, but text explains the point. Add a short first-slide overlay, then use small labels only where they help.
Use these editing layers carefully:
- Music: Choose a sound that matches the mood. Keep the slideshow readable even if someone watches with low volume.
- Text: Use short phrases. Aim for one clear message per slide.
- Stickers: Add them only when they clarify the story or fit the style.
- Captions: Use the caption field for context, keywords, and a next step.
- Cover text: Make the first image readable as a thumbnail if TikTok displays it that way.
Instead of writing a full paragraph on slide one, use a short hook like "How I made this in 5 minutes" or "3 mistakes ruining your product photos."
Step 5: Write a Caption That Matches Search Intent
By the end of this step, your caption should tell TikTok and viewers what the post is about.
Write a caption that includes the main topic in natural language. If it teaches something, say what it teaches. If it shows a product, describe the benefit.
Good caption formulas:
- "How to [do the thing] using [method/tool]."
- "[Number] ideas for [audience] who want [outcome]."
- "Before you buy [product], check these [number] details."
- "Save this if you're planning [task]."
Use hashtags as labels, not decoration. Three specific hashtags usually beat a long pile of broad ones.
Step 6: Preview and Publish
By the end of this step, your slideshow should be ready to post or save as a draft.
Before publishing, watch the preview like a stranger would. Ask whether the first slide explains the reason to swipe and whether the final slide gives a clear ending.
Use this quick checklist:
- The first slide has a clear hook.
- The image order makes sense.
- Text does not cover important faces, products, or details.
- The music fits the tone.
- The caption explains the topic.
- Hashtags match the content.
- Any product claims are accurate.
- The final slide gives a next action.
If something feels confusing, simplify before posting. Clarity beats extra decoration.
How to Make a Product or Ecommerce Slideshow
A product slideshow should help viewers understand the product quickly. Start with the product in use, then show the problem it solves, key benefits, detail shots, proof if you have it, and a final action.
For ecommerce, a simple 6-slide structure works well:
- Product in use.
- Problem or desire.
- Main benefit.
- Detail shot.
- Comparison, testimonial, or use case.
- Next step, such as "save this," "see colors," or "shop the link."
If you want to turn product photos, product links, or slideshow concepts into TikTok-style ad creatives, Oumomo.ai TikTok AI video generator is a relevant resource for sellers, brands, agencies, and cross-border ecommerce teams. Use it after you have a clear audience, benefit, and call to action.
Keep the disclosure clear if the slideshow is promotional.
Tools That Can Help You Create Better Slideshows
The best tool depends on the weak point in your workflow. If your images are weak, use an image editor. If your hook is weak, work on copywriting. If you need video-style variations, use an AI video or ad tool.
Use this quick workflow:
| Need | Helpful Tool Type | What to Check |
|---|---|---|
| Better product images | AI image editor or product photography tool | Commercial rights and realism |
| Faster text overlays | Design tool or mobile editor | Readability on small screens |
| More slideshow ideas | AI writing or ideation tool | Specificity and originality |
| TikTok ad variants | AI video/ad generator | Product accuracy and export format |
| Tool discovery | AI tools directory | Categories, pricing, and current links |
For broader research, WithAI.Top AI tools directory can help you discover AI apps across writing, image generation, video, coding, marketing, and productivity. These are suggested resources, not requirements for making a basic TikTok slideshow.
Common Mistakes to Avoid
The biggest TikTok slideshow mistake is making the viewer work too hard. If the first slide is vague or the text is too small, people may stop swiping before they understand the post.
1. Starting with a weak first slide.
The first slide should create a reason to continue. Use the strongest visual, clearest result, or most specific promise first.
2. Adding too much text.
Text should support the image, not bury it. If a slide needs a paragraph, split it into two slides or move the explanation to the caption.
3. Using random photo order.
A slideshow is a sequence. Arrange photos so each one answers the question created by the previous slide.
4. Choosing music before the message.
A trending sound can help, but it cannot fix an unclear idea. Choose the message first, then pick a sound that supports the mood.
5. Forgetting the final action.
The last slide should not feel like the post simply ran out of images. End with a takeaway, question, checklist, or next step.
What Success Looks Like
A successful TikTok slideshow is easy to understand without extra explanation. The viewer should know the topic from the first slide and know what to do by the end.
For a personal account, success might mean saves, shares, comments, profile visits, or follows. For a business, success might mean product page visits, link clicks, add-to-cart activity, or qualified comments.
Try several angles: tutorial, before-and-after, list, comparison, review, and story. The format is fast enough to learn from multiple posts without building a full video production workflow.
Frequently Asked Questions
How many photos should I use in a TikTok slideshow?
Use enough photos to tell the story clearly. For beginners, 3 to 10 slides is usually easier to structure than a long sequence.
Can I add music to a TikTok slideshow?
Yes. TikTok lets creators add sounds to posts, though available music and commercial-use rules can vary by account type and region.
Is a TikTok slideshow better than a video?
A slideshow is better when the content is image-led, step-based, or easy to explain through still visuals. A video is better when motion, voice, demonstration, or personality is essential.
Why does my TikTok slideshow option look different?
TikTok changes interface labels and feature availability over time. Update the app first, then look for equivalent options such as Upload, Photos, Select multiple, Templates, or Photo Mode.
Conclusion
Making a slideshow on TikTok is mostly about choosing the right photos, arranging them into a clear story, and adding just enough text, music, and caption context to keep people swiping. Start simple: one idea, one hook, one sequence, and one next action. Once the basic format works, you can test AI-assisted tools, product workflows, and directory research to improve speed and creative range.
Stay at the cutting edge.
Join thousands of AI practitioners receiving our weekly digest on tools and trends.
Share this story
Continue Exploring
More insights from our research team.